
The rapid development cycle of Android has once again provided an opportunity for dedicated communities to extend the lifespan of high-performance devices whose official software support windows are drawing to a close. With Google recently unveiling Android 16 for its flagship Pixel line, developers have swiftly engineered unofficial Android Open Source Project (AOSP) builds, making the latest operating system accessible to powerful, yet aging, hardware such as the Asus ZenFone 8. This migration allows users to bypass manufacturer limitations and experience cutting-edge features and security enhancements years after their device’s original launch.
The ZenFone 8, a compact flagship initially launched running Android 11, remains a highly capable machine, powered by the robust Snapdragon 888 chipset. While its official software lifecycle support for major Android versions may be concluding, its hardware is more than sufficient to handle the demands of Android 16. The installation of a custom, community-maintained ROM is the primary pathway for owners of this device to unlock the latest Android innovations, particularly the highly anticipated Material 3 Expressive design language.
Android 16: The Era of Material 3 Expressive
Android 16’s most visible contribution to the user experience is the introduction of Material 3 Expressive. This update is not a radical departure but rather a sophisticated refinement of Google’s design philosophy, building upon the foundations established by Material Design 3. Where previous iterations focused heavily on core structure and dynamic color, Material 3 Expressive emphasizes fluidity, motion, and accessibility.
![How to Install Android 16 on Asus ZenFone 8 [Download Link]](https://www.getdroidtips.com/wp-content/uploads/2021/05/Asus-Zenfone-8.jpg)
The core enhancements include smoother, more dynamic animations that provide subtle visual feedback and a sense of responsiveness throughout the system interface. Furthermore, Google has incorporated bolder typography and adjusted layouts to feature larger touch targets, significantly enhancing the overall usability, especially for single-handed operation and users prioritizing accessibility. This refinement arrived at a crucial time, rejuvenating an interface that some critics felt had begun to stagnate since its debut with Android 13. By focusing on polish and performance rather than drastic visual change, Material 3 Expressive successfully integrates the next level of user interface sophistication while maintaining a familiar aesthetic.
In addition to design, Android 16 is expected to deliver crucial system optimizations under the hood. These improvements typically translate to better battery management, reduced latency, and enhanced performance across diverse hardware configurations, including standard handsets, foldables, and tablets. Although initial official deployment targets Pixel devices, the rapid availability of AOSP ports ensures that a wider range of high-end hardware, including the ZenFone 8, can immediately benefit from these performance gains.
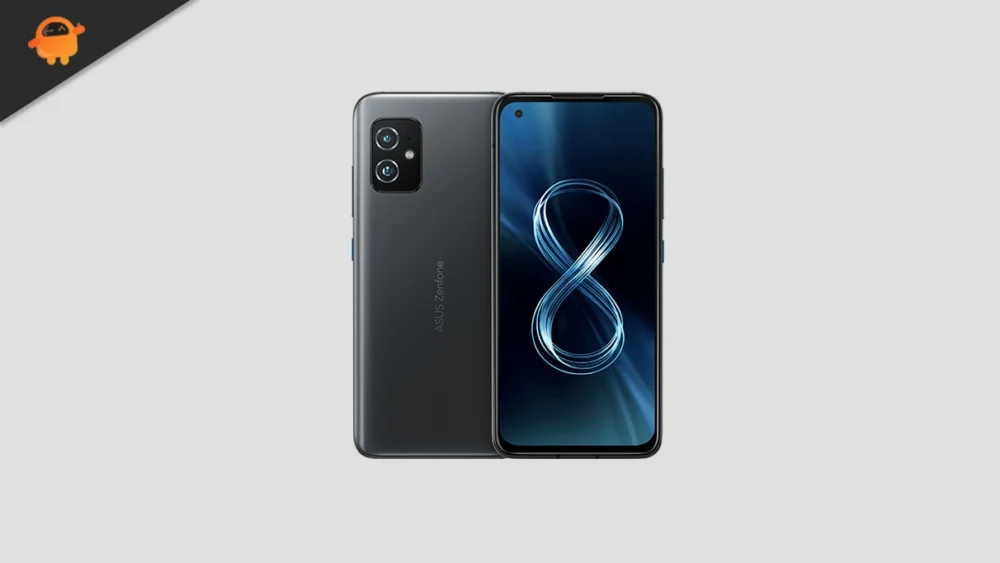
The Host Device: Asus ZenFone 8 Specifications
The Asus ZenFone 8 platform is fundamentally well-suited for running modern custom firmware. The device was engineered in two distinct forms: the standard ZenFone 8 and the ZenFone 8 Flip. Both variants are anchored by the powerful Snapdragon 888 System-on-Chip, ensuring peak performance.
The standard ZenFone 8, positioned as a mini-flagship, features a compact 5.9-inch SUPER AMOLED display, prioritizing ergonomic, single-hand use. It boasts impressive memory configurations, scaling up to 256 GB of storage paired with a robust 16 GB of RAM, a capacity that rivals many contemporary laptops. A key differentiator for the standard model is its IP68 waterproof rating, enhancing durability—a feature absent in the Flip model. Its camera setup includes a dual-rear array with a 64MP main sensor and a 12MP ultrawide lens, complemented by a 12MP dual-pixel selfie camera. Powering this compact package is a 4000mAh battery with 30W fast-charging support.
![How to Install Android 16 on Asus ZenFone 8 [Download Link]](https://www.getdroidtips.com/wp-content/uploads/2021/05/Asus-Zenfone-8-300x169.jpg)
Conversely, the ZenFone 8 Flip offers a larger 6.67-inch screen and features a unique rotating camera system. This triple-camera setup includes a 64MP main lens, an 8MP telephoto lens, and a 12MP ultrawide lens, which physically flips to serve as the front-facing camera. The Flip model accommodates a larger 5000mAh battery, also supported by 30W fast charging, alongside a dedicated microSD slot for expandable storage. The high-end hardware specifications of both models validate their capability to handle the intensive demands of Android 16, provided the software is properly optimized.
Navigating the Custom ROM Installation Process
Migrating to an unofficial Android 16 build requires several critical preparatory steps that move beyond simple software installation; they fundamentally alter the device’s operational environment. This process necessitates careful execution to avoid data loss or rendering the device inoperable (bricking).
Mandatory Data Redundancy and Power: Before initiating any custom firmware operation, a comprehensive backup of all data is non-negotiable. Unlocking the bootloader and flashing custom recoveries invariably involves a factory reset, wiping all user data. Furthermore, maintaining a minimum 50% battery charge is essential to prevent unexpected shutdowns during the flashing sequence, which can lead to severe system corruption.
The Technical Toolkit: ADB, Fastboot, and Drivers: The installation hinges on establishing a stable communication channel between the computer and the ZenFone 8. This is achieved through the Android Debug Bridge (ADB) and Fastboot utilities, collectively known as Platform-Tools. ADB facilitates interaction with the Android operating system or recovery, while Fastboot is a lower-level command utility crucial for interacting with the device in bootloader mode—the essential state for flashing critical partitions. Installation of the correct Asus USB drivers is also mandatory to ensure seamless data transfer and command execution.
![How to Install Android 16 on Asus ZenFone 8 [Download Link]](https://www.getdroidtips.com/wp-content/uploads/2020/06/cmd-platform-tools.jpg)
Unlocking the Digital Gatekeeper: The most significant prerequisite is unlocking the ZenFone 8’s bootloader. This procedure removes the security restriction imposed by the manufacturer, which typically prevents the installation of non-official operating systems or recovery environments. Unlocking the bootloader is performed via Fastboot commands but universally results in a data wipe and may void the manufacturer’s warranty.
Installing the Custom Recovery: Following the bootloader unlock, a custom recovery environment, most commonly Team Win Recovery Project (TWRP), must be installed. TWRP replaces the stock recovery and provides a touch-based interface necessary for flashing third-party ZIP files, which include the Android 16 custom ROM and the essential Google Apps (GApps) package.
ROM and GApps Acquisition: Since AOSP builds are pure Android environments, they exclude proprietary Google applications like the Play Store, Gmail, and Google Maps. Consequently, users must download the specific Android 16 custom ROM for the ZenFone 8 and a compatible Android 16 GApps package. A critical procedural note is the requirement to flash the GApps package immediately after the custom ROM, without rebooting the device in between, to ensure proper integration of Google’s services.
Stability and Community Contributions
While the prospect of running the latest Android version is exciting, users must approach unofficial custom ROMs with measured expectations. Initial reports often suggest high stability, with the core device functions—such as cellular connectivity, Wi-Fi, camera operation, and display—functioning correctly. However, due to the nature of porting, minor bugs are frequently present, sometimes affecting niche hardware features or system optimizations like advanced power management or certain sensors.
![How to Install Android 16 on Asus ZenFone 8 [Download Link]](https://www.getdroidtips.com/wp-content/uploads/2020/08/twrp-custom-rom.jpg)
The strength of the custom ROM community lies in collaboration. If users encounter issues—ranging from minor graphical glitches to unexpected reboots—they are urged to meticulously document the problem and provide detailed system logs to the developer. This iterative feedback loop is fundamental to refining the build and achieving the stability required for daily driver use.
By successfully navigating these technical requirements, ZenFone 8 owners are not merely updating their software; they are participating in the broader movement of digital sustainability. Flashing Android 16 on the ZenFone 8 effectively extends the device’s operational life, ensuring access to modern security patches and the latest user experience features that the manufacturer has officially ceased to provide. This custom ROM path represents a significant commitment to maximizing the utility of powerful hardware, offering a refreshing and optimized Android experience years after the phone’s initial release.
