
The technology cycle dictates that even high-end smartphones eventually lose official software support, forcing users to choose between device replacement or sacrificing access to modern features and security enhancements. For owners of the Asus ZenFone 8, however, the dedicated custom ROM community has provided a third, compelling option: the early installation of Android 16, leveraging unofficial Android Open Source Project (AOSP) builds. Although Google has only recently begun rolling out the official Android 16 operating system to its latest Pixel lineup, independent developers have swiftly engineered stable ports for popular legacy hardware, granting the compact ZenFone 8 access to the newest advancements in mobile software design and functionality.
This ability to upgrade hardware launched initially on Android 11 to the current generation of Android 16 is a powerful testament to the longevity afforded by Qualcomm’s robust Snapdragon 888 chipset and the open nature of the Android ecosystem. By utilizing a custom ROM, users bypass the manufacturer’s End-of-Life (EOL) designations, ensuring the device remains functionally relevant for years beyond its intended lifespan.
![How to Install Android 16 on Asus ZenFone 8 [Download Link]](https://www.getdroidtips.com/wp-content/uploads/2021/05/Asus-Zenfone-8.jpg)
The Dawn of Material 3 Expressive
The most immediately apparent benefit of transitioning to Android 16 is the implementation of Material 3 Expressive. This design iteration is not a radical departure from Google’s existing visual language but rather a significant refinement that focuses on enhanced fluidity, accessibility, and visual hierarchy. Material 3 Expressive builds upon the foundation of Material Design 3 (introduced with Android 13) by addressing perceived rigidity and introducing smoother, more dynamic animations that provide subtle visual feedback for user interactions.
The updated framework emphasizes larger, more tactile touch targets, optimizing the interface for diverse screen sizes, including tablets and foldables—a critical move as the Android ecosystem expands. Furthermore, the aesthetic update includes bolder, more sophisticated typography and an overall sense of polish and responsiveness. While the core visual themes remain recognizable, Material 3 Expressive injects a much-needed sense of modernity and dynamism into the user interface, preventing the operating system from feeling dated and stale. For the ZenFone 8, this means a fresh, highly optimized user experience previously reserved only for the newest flagship devices.
ZenFone 8: A High-End Platform for Custom Development
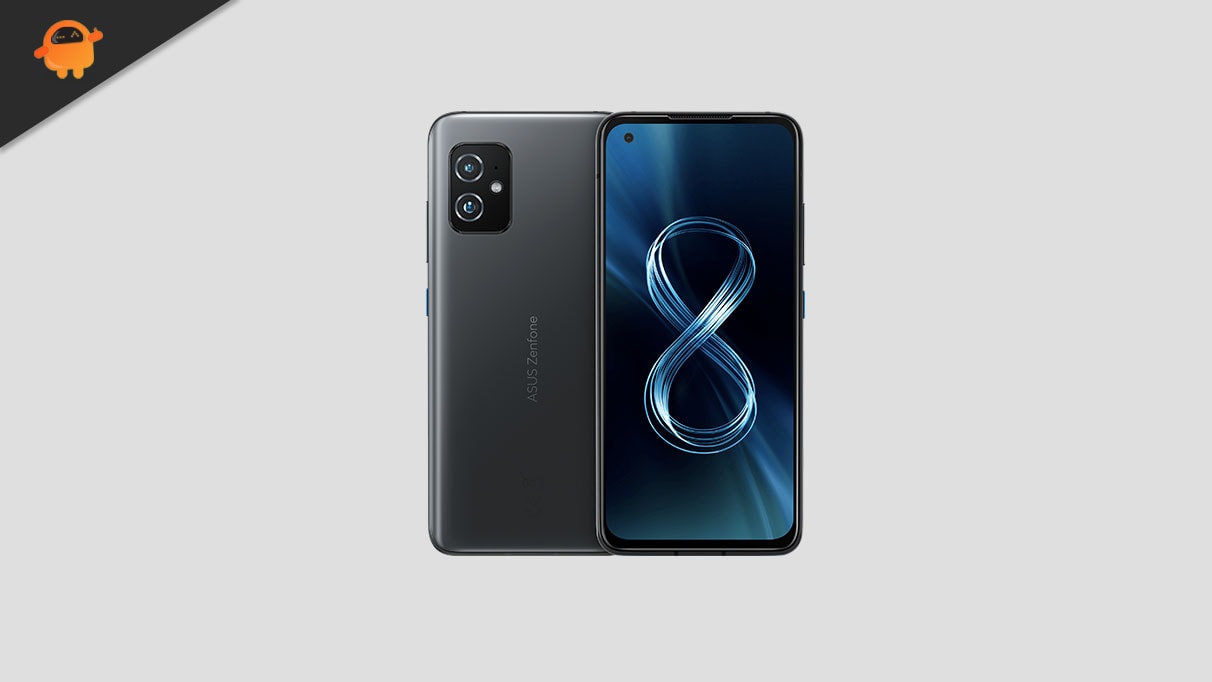
The suitability of the Asus ZenFone 8 (codenamed ‘Sake’) for advanced custom development stems from its powerful internal specifications. Launched as a compact flagship, the device features the high-performance Snapdragon 888 system-on-a-chip, paired with up to 16 GB of RAM and 256 GB of UFS 3.1 storage. This hardware configuration ensures that the demands of the modern Android 16 OS, even in its AOSP form, are handled efficiently.
![How to Install Android 16 on Asus ZenFone 8 [Download Link]](https://www.getdroidtips.com/wp-content/uploads/2021/05/Asus-Zenfone-8-300x169.jpg)
The ZenFone 8 differentiates itself from its larger sibling, the ZenFone 8 Flip, through its 5.9-inch SUPER AMOLED display, prioritizing true one-handed operation. It also boasts an IP68 rating for water and dust resistance, a feature notably absent in the Flip model. The compact phone features a capable dual-rear camera setup (64MP main and 12MP ultrawide) and a substantial 4000mAh battery with 30W fast charging. These specifications confirm that, despite its age relative to new releases, the ZenFone 8 remains a formidable piece of technology, capable of running cutting-edge software with excellent performance.
Navigating the Custom ROM Process
While the promise of Android 16 is appealing, accessing it requires users to engage with the technical process of flashing a custom ROM. This procedure fundamentally replaces the manufacturer’s stock operating system (ZenUI 8, based on Android 11/12) with the AOSP build.
The initial reports regarding the stability of the Android 16 ZenFone 8 port are overwhelmingly positive, with core functionalities—including connectivity, camera performance, and essential sensors—reported as fully functional. However, the nature of unofficial builds means minor, device-specific bugs may occasionally surface. The success of these community-driven projects relies heavily on user participation; any discovered issues must be logged accurately and reported back to the development team to ensure continuous improvement and stability patches.
![How to Install Android 16 on Asus ZenFone 8 [Download Link]](https://www.getdroidtips.com/wp-content/uploads/2020/06/cmd-platform-tools.jpg)
The Essential Technical Prerequisites
Undertaking a custom ROM installation is an advanced operation that necessitates meticulous preparation. The integrity of user data is paramount, requiring a full backup of all personal files, applications, and settings before commencing the process, as several steps involve mandatory data wipes.
Furthermore, a series of technical requirements must be met:
- Bootloader Unlocking: This is the foundational step. The bootloader is a security measure implemented by the OEM to prevent unauthorized software installation. Unlocking it, typically via an official tool provided by the manufacturer (though often involving a complete device wipe), is essential to modify the core partitions.
- ADB and Fastboot Binaries: These command-line tools are the bridge between the computer and the smartphone. Android Debug Bridge (ADB) facilitates communication and file transfer while the device is running or in recovery mode. Fastboot is the utility used to flash system images and recovery environments while the phone is in bootloader mode.
- Custom Recovery Installation: Following the bootloader unlock, a custom recovery environment, most commonly Team Win Recovery Project (TWRP), must be installed. TWRP provides a dedicated graphical interface on the device itself, allowing users to efficiently wipe necessary partitions (like system, cache, and data) and flash the downloaded custom ROM files.
- Downloading ROM and GApps: The Android 16 custom ROM image (the operating system itself) and Google Applications (GApps) package must be acquired. Since AOSP builds are pure Android and do not include proprietary Google services (like the Play Store, Maps, or Gmail), GApps must be flashed immediately after the ROM, without an intermediate reboot, to ensure seamless integration.
The installation sequence is typically performed entirely within the TWRP environment: a full factory reset (including a wipe of the Data, Cache, and System partitions) is executed, followed by the sequential flashing of the Android 16 ROM file and the corresponding GApps package.
![How to Install Android 16 on Asus ZenFone 8 [Download Link]](https://www.getdroidtips.com/wp-content/uploads/2020/08/twrp-custom-rom.jpg)
In conclusion, for owners of the Asus ZenFone 8, the arrival of unofficial Android 16 custom ROMs represents more than just a software update; it is a significant extension of the device’s functional longevity and value. By embracing the power of the custom development community, users can revitalize their compact flagships with the latest features, security protocols, and the sleek, dynamic interface of Material 3 Expressive, ensuring that high-performance hardware continues to meet the demands of modern mobile computing.