
Updated on September 13, 2025

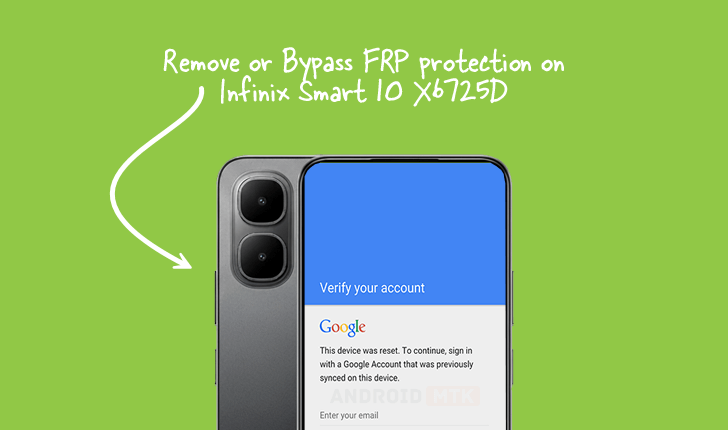
The increasing sophistication of mobile security measures necessitates clear, technical guidance for legitimate device owners facing credential lockouts. This detailed analysis focuses on the precise methodology required to deactivate Factory Reset Protection (FRP) specifically on the Infinix Smart 10 model bearing the hardware identifier X6725D, operating under the advanced framework of Android 15.
Understanding the Imperative of Factory Reset Protection (FRP)
Factory Reset Protection, commonly abbreviated as FRP, is a critical security protocol embedded within the Android operating system, first implemented with the release of Android 5.1 (Lollipop). Its core function is to serve as a potent deterrent against the unauthorized resale or use of stolen devices. When a device is subjected to a hard reset—either through the settings menu or the recovery environment—FRP mandates that the user must successfully authenticate with the last registered Google account credentials associated with the device prior to the reset. This mechanism effectively bricks the device for unauthorized users, rendering it unusable until the correct login information is provided. While this feature is invaluable for asset protection and combating theft, it can become a significant hurdle for legitimate users who have forgotten their login details or acquired a device without proper account de-linking. The complexity of bypassing this security layer is amplified on newer operating systems like Android 15, demanding specialized tools and files.
Prerequisites for Successful FRP Circumvention
Executing the FRP removal process on the Infinix Smart 10 X6725D requires meticulous preparation, ensuring all necessary software components and hardware prerequisites are met before initiating the procedure. Failure to adhere to these prerequisites significantly increases the risk of data corruption or device bricking.
Essential Preparatory Components:
- FRP Reset File: A specific, pre-compiled reset file tailored for the chipset architecture used in the Infinix Smart 10 X6725D is mandatory. This file contains the necessary instructions to overwrite or neutralize the FRP lock flag within the device’s partition structure.
- SPD Research Tool: This specialized utility is designed to interface directly with Spreadtrum (SPD) chipset-based devices, often utilized in budget and mid-range smartphones like the Infinix Smart 10. This software acts as the primary conduit for flashing the reset file onto the device’s memory via a computer connection.
- Compatible Computer System: A reliable desktop or laptop computer running a stable version of Windows is required. The system must possess functioning USB ports capable of maintaining a stable data connection throughout the process.
- USB Drivers: Correctly installed and functioning Spreadtrum USB drivers are crucial. These drivers allow the operating system on the computer to recognize the Infinix device when it is placed into the specific flashing or download mode required for the tool to operate.
- Data Backup (If Applicable): While the FRP removal process inherently involves a reset that wipes user data, any critical information residing on the device before the lockout should ideally be backed up via cloud services or alternative means, if accessible.
Step-by-Step Technical Procedure for FRP Removal
The subsequent steps detail the technical sequence for utilizing the SPD Research Tool to clear the FRP lock on the Infinix Smart 10 X6725D. Users must exercise extreme diligence during these stages.
Phase 1: Tool Configuration and File Loading
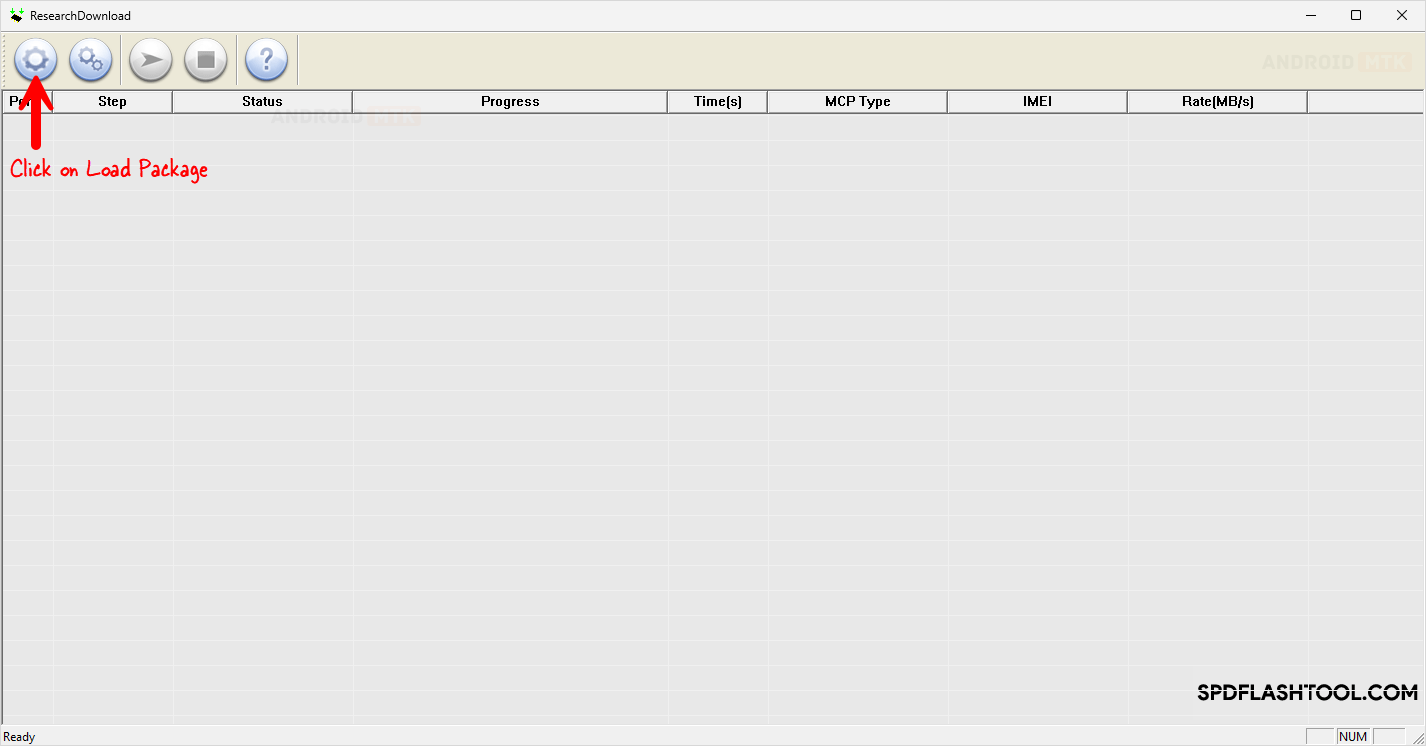
- Launch the SPD Research Tool: Open the downloaded and extracted SPD Research Tool application on the host computer.
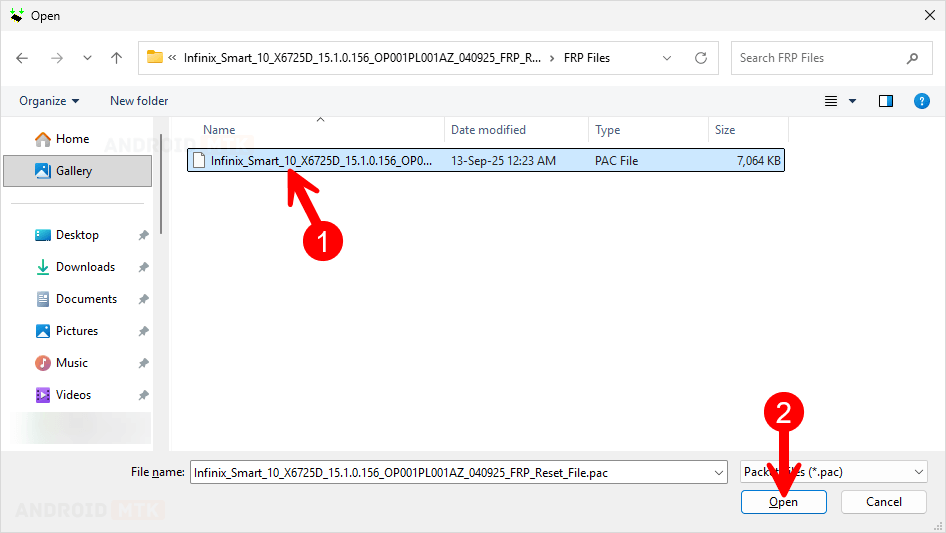
- Load the Package: Within the Research Tool interface, locate and select the option designated for loading the necessary package or firmware file. Navigate to the location where the specific FRP reset file for the X6725D was saved and load it into the tool. This action prepares the software to communicate the required instructions to the target device.
Phase 2: Device Preparation and Connection (Entering Download Mode)
The critical step involves transitioning the Infinix Smart 10 X6725D into a state where it accepts external commands for flashing—known variously as Download Mode or BootROM Mode, depending on the chipset implementation.
- Power Down: Ensure the Infinix Smart 10 X6725D is completely powered off. No residual charge state should indicate the device is running.
- Initiate Download Mode Sequence: Simultaneously press and hold both the Volume Up and Volume Down physical buttons located on the side of the smartphone.
- Establish Connection: While maintaining continuous pressure on both volume keys, connect the USB cable from the phone to an available USB port on the computer. The drivers should recognize the device, often accompanied by a distinct sound notification from the computer.
- Verification: Release the volume buttons only after the SPD Research Tool confirms the device is detected and connected, typically indicated by a status change within the tool’s console or a successful driver handshake confirmation.
Phase 3: Execution of the FRP Erase Command
With the device correctly positioned in the appropriate communication state, the tool can now execute the security bypass function.

- Navigate to Security Settings: Within the SPD Research Tool interface, identify and select the specific section dedicated to security functions, which will include options for memory manipulation or feature resets.
- Select FRP Option: Choose the option explicitly labeled for FRP reset or removal. On some iterations of the tool, this might involve selecting a predefined operation type associated with the security region.
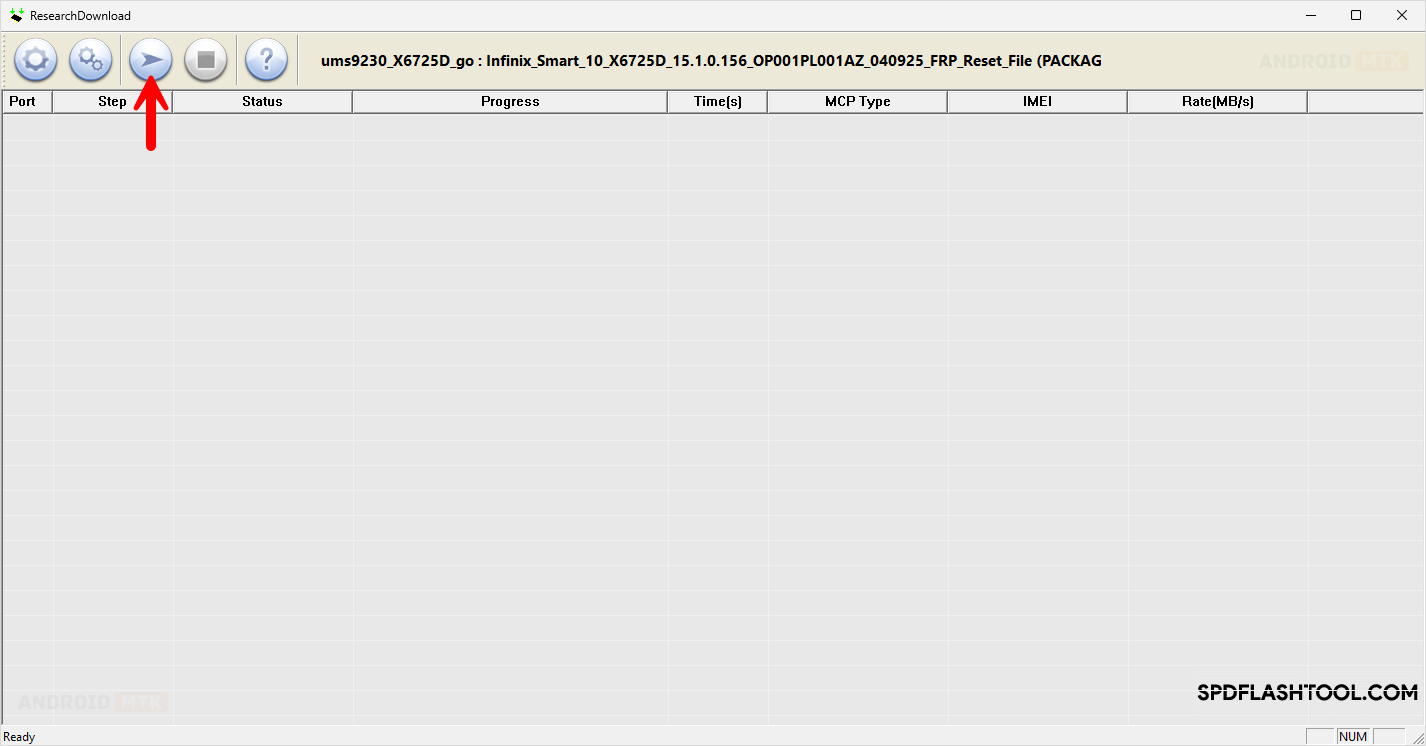
- Initiate the Process: Click the ‘Start’ or ‘Run’ button within the tool. This action transmits the FRP reset command, embedded within the loaded package, to the device’s memory controller. The process should proceed rapidly.
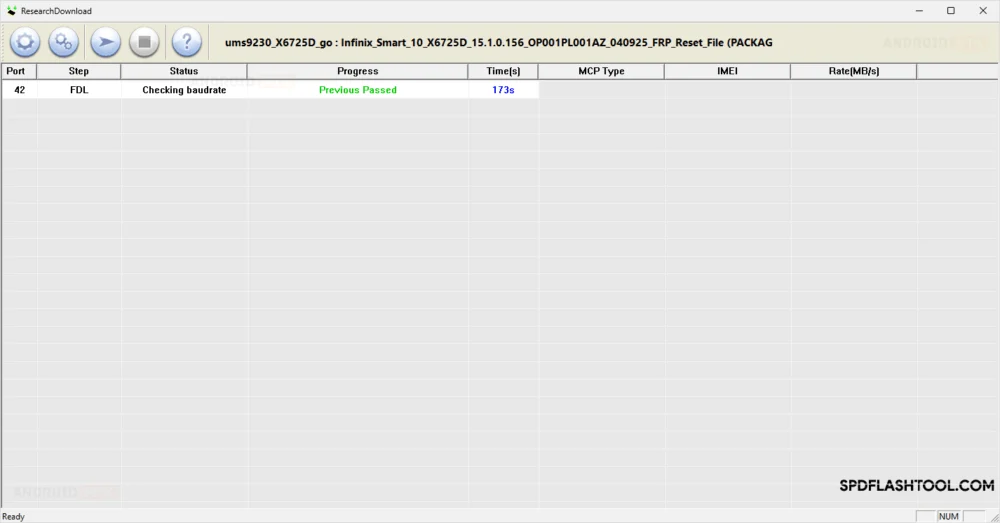
Phase 4: Confirmation and Finalization
- Monitor Tool Output: Observe the status window of the SPD Research Tool. A successful operation will be confirmed by a clear message, often reading "FRP Lock Removed Successfully," "Operation Complete," or similar affirmative text, accompanied by a change in the tool’s color coding (e.g., from red to green).
- Disconnection and Reboot: Upon receiving the success notification, safely close the SPD Research Tool application. Disconnect the USB cable from the Infinix Smart 10 X6725D.
- Restart the Device: Power on the smartphone normally. The initial boot sequence might take slightly longer than usual as the system verifies the security state. Once the device fully boots, it should proceed directly to the initial setup screen, bypassing the requirement for the previously linked Google account credentials.
Technical Considerations and Post-Procedure Notes
Successful FRP removal using third-party tools like the SPD Research Tool operates by directly manipulating the persistent storage sectors related to Google account verification. This is a low-level operation that interacts directly with the firmware.
It is imperative to understand that this procedure is fundamentally altering the security state of the device. While effective, it bypasses intended security protocols. Therefore, users must ensure they have the complete legal right to access and modify the device before proceeding. The integrity of the downloaded FRP file is paramount; using an incorrect or corrupted file designed for a different chipset or Android version can lead to a catastrophic software failure, rendering the device inoperable (a hard brick). Always verify the source and checksum of such specialized files when available. After the successful removal, the device functions as if it were brand new out of the box, requiring the user to set up a new Google account or proceed without one, depending on their immediate requirements.
