
Updated on September 13, 2025
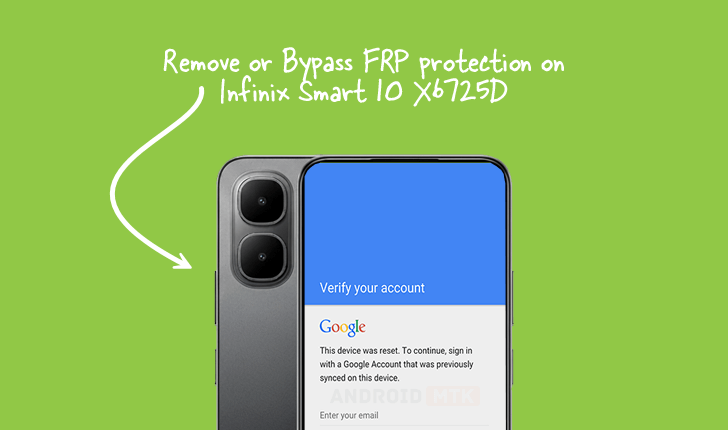
The security architecture of modern mobile devices includes robust measures designed to deter unauthorized access following a hard reset. Central to this defense mechanism is Factory Reset Protection (FRP), a feature implemented across the Android ecosystem. This detailed technical overview focuses specifically on the procedure required to liberate the Infinix Smart 10 (model X6725D), operating on the advanced Android 15 platform, from this protective lock. This guide is intended for users who possess legitimate ownership of the device and require access following an unintentional lock or forgotten credentials.
Understanding the Function and Purpose of Factory Reset Protection (FRP)
Factory Reset Protection, officially introduced with Android 5.1 (Lollipop), serves as a crucial anti-theft measure integrated directly into the operating system kernel. Its fundamental purpose is to link the device’s Google account credentials irrevocably to the hardware fingerprint. Should a device be subjected to a factory data reset—either through the system settings menu or via the recovery mode without first removing the associated Google account—FRP is triggered upon the subsequent boot-up sequence.

When activated, the device mandates that the user verify the credentials of the last Google account previously synced to the phone. This mandatory verification step effectively renders the device unusable to anyone who has merely stolen the hardware, thereby diminishing the resale value of illicitly obtained smartphones and significantly increasing the deterrent against theft. For legitimate owners who forget their login details post-reset, or for technicians servicing devices where ownership is verifiable, bypassing this security layer becomes a necessary technical operation.
Prerequisites for FRP Removal on Infinix Smart 10 X6725D
Successfully navigating the FRP bypass procedure for the Infinix Smart 10 X6725D requires specific, specialized tools and files tailored to the device’s underlying chipset architecture, which in this case utilizes Spreadtrum (SPD) technology. Users must ensure the following prerequisites are meticulously met before commencing the procedure:
-
Acquisition of the FRP Reset File: A dedicated FRP removal file, specifically engineered for the Infinix Smart 10 X6725D’s firmware variant and chipset, must be downloaded. This file contains the necessary instructions or patches to neutralize the FRP flag within the device’s partition structure.
-
Installation of the SPD Research Tool: The primary software utility required for this operation is the SPD Research Tool. This specialized application is designed to communicate with Spreadtrum-powered chipsets in a low-level service mode, allowing for direct flashing and modification of system partitions. Ensure the latest stable version of this tool is installed and operational on the host computer.
-
Stable USB Drivers: Correctly installed and functioning USB drivers for the Spreadtrum chipset are non-negotiable. These drivers facilitate the PC’s ability to recognize the phone when it enters its specialized boot or download mode, which is critical for tool communication.
-
Data Backup Consideration: While this procedure focuses solely on FRP removal, any process that involves flashing or low-level tool interaction carries an inherent risk. Although this method is generally non-destructive to user data outside the FRP partition, users are strongly advised to back up any critical information if the device is accessible prior to the reset, or to accept the risk of data loss associated with security modifications.
Note: The following guide details a technical procedure. Proceed only if you are the rightful owner of the device and understand the implications of altering system security measures. AndroidMTK assumes no liability for any adverse outcomes resulting from the execution of these steps.
Step-by-Step Technical Execution of the FRP Bypass
The core of the removal process relies on utilizing the SPD Research Tool to communicate with the device in a diagnostic state, overriding the standard boot sequence that enforces the Google account verification.
Phase 1: Preparation and Tool Initialization
-
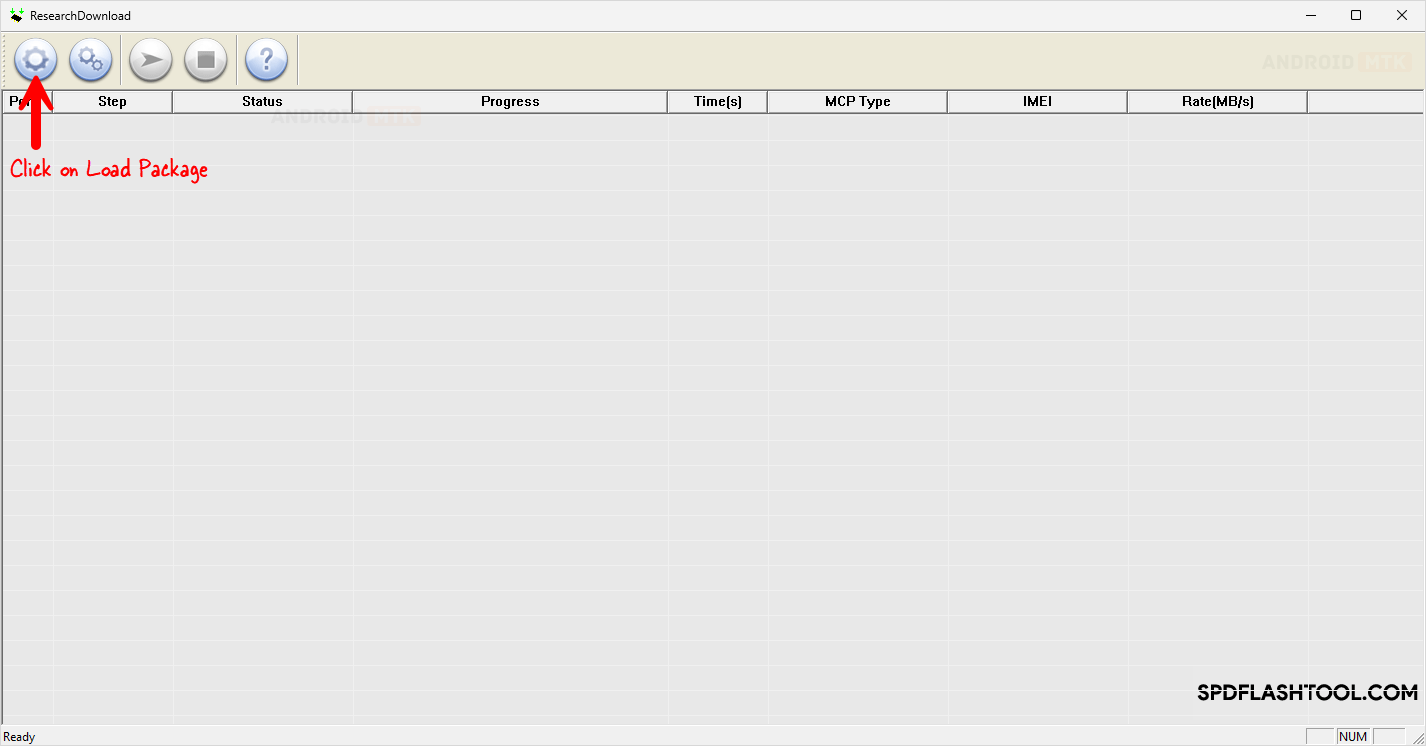
Launch the SPD Research Tool: Initiate the SPD Research Tool application on your host computer. The interface will present various tabs and options related to chipset interaction.
-
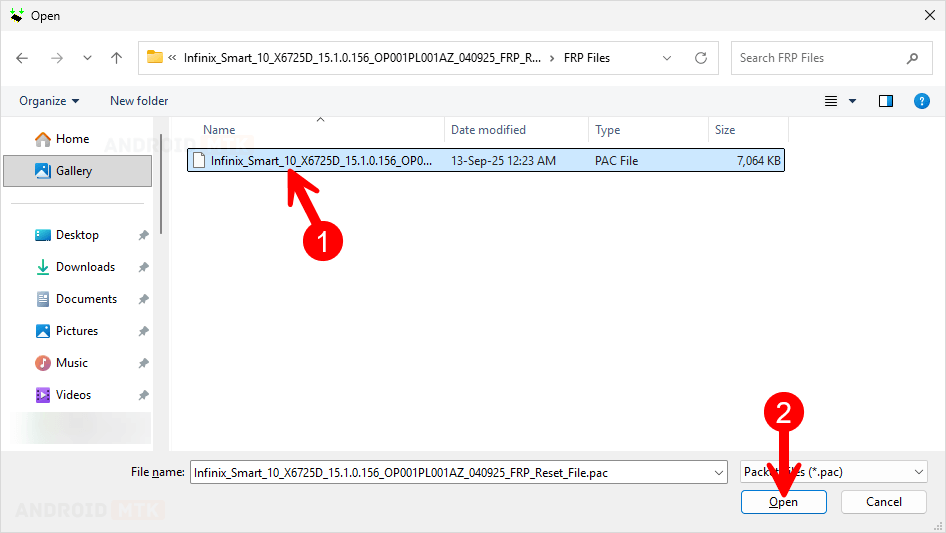
Loading the Necessary Package: Navigate within the tool to the function that allows loading firmware or service packages. Select and load the specific FRP reset file previously downloaded for the Infinix Smart 10 X6725D. The tool will parse this file, preparing the required parameters for the operation. In the interface, ensure the correct operational mode is set, often involving selecting the specific chipset generation if prompted, although the dedicated FRP file often preconfigures this.
-
Selecting the FRP Functionality: Locate the option within the SPD Research Tool dedicated to security operations, specifically designated for FRP removal or "Remove Bootloader Lock/FRP." Confirm that this specific function is selected, as the tool can perform other flashing operations which are not desired here.
Phase 2: Entering Diagnostic Mode (Download Mode)
The device must be transitioned from its standard operational state into a service mode that allows external software control—often referred to as Download Mode or Preloader Mode for SPD devices.
-
Power Down the Device: Ensure the Infinix Smart 10 X6725D is completely powered off. No residual power should remain if possible; a full shutdown is required.
-
Initiate Hardware Key Combination: Simultaneously press and hold both the Volume Up and Volume Down buttons on the physical device.
-
Establishing Connection: While maintaining pressure on both volume keys, connect the USB cable from the phone to the computer. The operating system should detect the device entering the SPD Preloader/Download state. The visual feedback on the computer screen, often the SPD Research Tool displaying a connection status or port activity, confirms successful entry into this critical diagnostic mode. Release the volume buttons once the connection is established and recognized by the tool.
Phase 3: Executing the FRP Removal Command
With the device correctly connected in diagnostic mode and the tool configured, the final command sequence can be initiated.
-
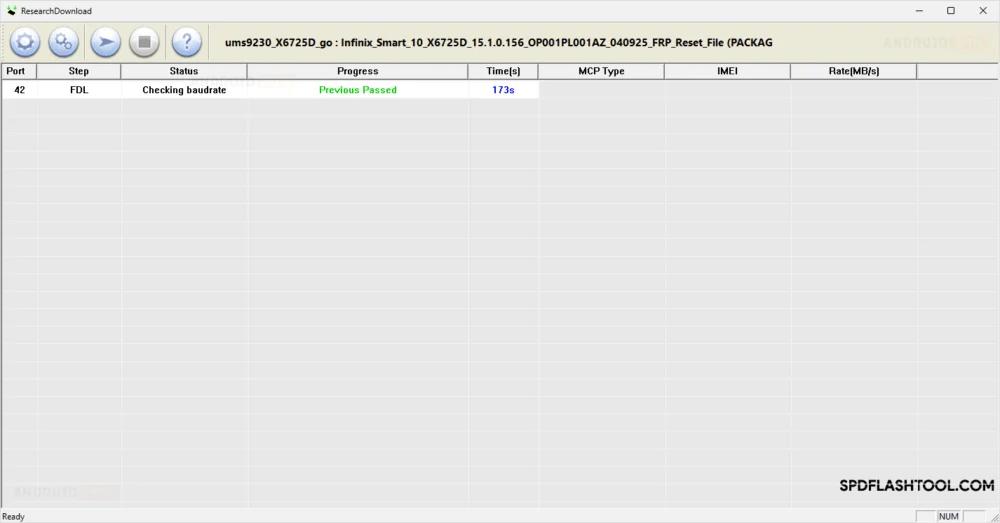
Commencing the Operation: Locate and click the ‘Start’ or ‘Run’ button within the SPD Research Tool interface, corresponding to the selected FRP removal task.
-
Data Transfer and Patching: The tool will now communicate directly with the phone’s memory controller. It will transmit the necessary instructions contained within the FRP file to overwrite or neutralize the flag that triggers the Google verification screen. This process involves writing a small patch or resetting specific security bits in the device’s NVRAM or system partition. Observe the progress bar within the tool; this phase requires uninterrupted communication.
-
Confirmation of Success: Upon successful completion of the write operation, the SPD Research Tool will display a clear notification, often denoted by a green status message or a "Success" dialogue box, indicating that the FRP lock has been effectively bypassed.
Phase 4: Finalizing the Procedure
-
Disconnection and Reboot: Immediately following the success confirmation message, safely close the SPD Research Tool application. Carefully disconnect the USB cable from the Infinix Smart 10 X6725D.

-
Device Restart: Power on the device normally by pressing and holding the power button.
-
Verification: Upon booting, the device should bypass the initial setup screens that previously demanded Google account verification. The user should be guided directly to the standard welcome or language selection screen, confirming that the Factory Reset Protection mechanism has been successfully neutralized.
Concluding Remarks
The successful execution of this technical intervention restores full administrative control over the Infinix Smart 10 X6725D, which was previously hampered by the Android 15 security protocol. Users are now free to set up the device with new credentials or associate a new Google account without encountering the persistent barrier of the previous owner’s security information. This process underscores the specialized nature of maintaining and servicing devices utilizing Spreadtrum chipsets, which often require dedicated software tools for low-level system management tasks like security bypasses.
