
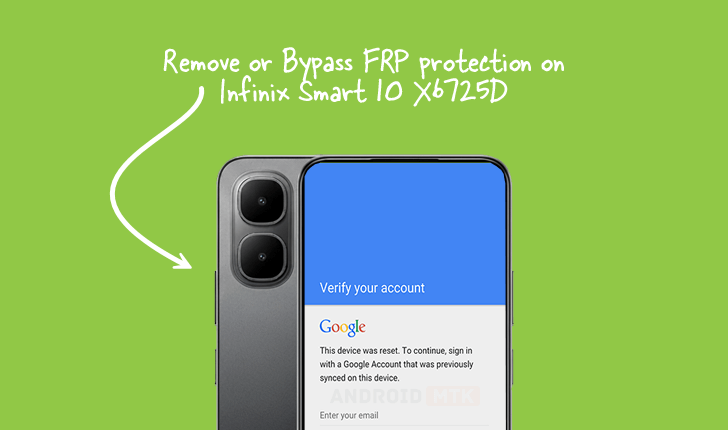
Updated on September 13, 2025, this detailed technical analysis outlines the necessary procedures and prerequisites for successfully disabling Factory Reset Protection (FRP) on the Infinix Smart 10 model X6725D, specifically addressing units operating on the latest Android 15 operating system.
Factory Reset Protection, or FRP, represents a crucial layer of modern mobile security implemented across the Android ecosystem, beginning with the Android 5.1 Lollipop iteration. Its fundamental purpose is to act as a robust deterrent against unauthorized access and exploitation following an accidental or malicious hard reset of the device. When a device running FRP is restored to its factory default settings without the prior removal of the associated Google account credentials, the system mandates that the user re-authenticate using the credentials of the last Google account synced to the device before the reset occurred. This mechanism is vital for enhancing device security, significantly reducing the viability of stolen smartphones in secondary markets by rendering them functionally unusable to anyone lacking the legitimate owner’s login information. For legitimate owners who have forgotten their credentials or acquired a device that was not properly prepared for transfer, bypassing this lock becomes a necessary technical undertaking.

The precise method for circumventing FRP on the Infinix Smart 10 X6725D, particularly when configured with Android 15, necessitates the utilization of specialized firmware tools designed to interact directly with the device’s underlying chipset architecture. This process hinges on obtaining and correctly deploying the designated FRP reset file, specifically tailored for this device variant, in conjunction with the Spreadtrum (SPD) Research Tool. Users must meticulously ensure that all preparatory conditions detailed below are met before initiating any flashing or modification sequence, as deviations can lead to system instability or device bricking.
Prerequisites for FRP Removal on Infinix Smart 10 X6725D
Successful execution of this procedure requires a stable computing environment and the correct preparatory components. First, a functional personal computer, preferably running a stable version of Microsoft Windows, is essential for hosting the necessary software. Second, the specific FRP bypass file for the Infinix Smart 10 X6725D must be downloaded and extracted to an easily accessible location on the PC. Third, the official or compatible SPD Research Tool must be installed and configured; this utility acts as the primary interface for communicating low-level commands to the device’s Spreadtrum processor. Fourth, the appropriate SPD USB drivers must be installed on the computer to ensure seamless, reliable communication between the PC and the smartphone when it is connected in the required mode. Finally, a high-quality, data-compatible USB cable is non-negotiable for maintaining a stable connection throughout the critical flashing stage.
Note on Responsibility: The methodology described herein involves direct interaction with the device’s operating system security layer. The distribution platform assumes no liability for any adverse outcomes, including but not limited to data loss, software corruption, or hardware malfunction, that may arise from the application of these instructions. Adherence to this guide is undertaken entirely at the user’s own risk.
Step-by-Step Guide for FRP Deactivation
The process leverages the SPD Research Tool’s capability to write specific configuration data or execute commands that clear the Google account lock flag stored within the device’s NVRAM or persistent storage partitions.
-
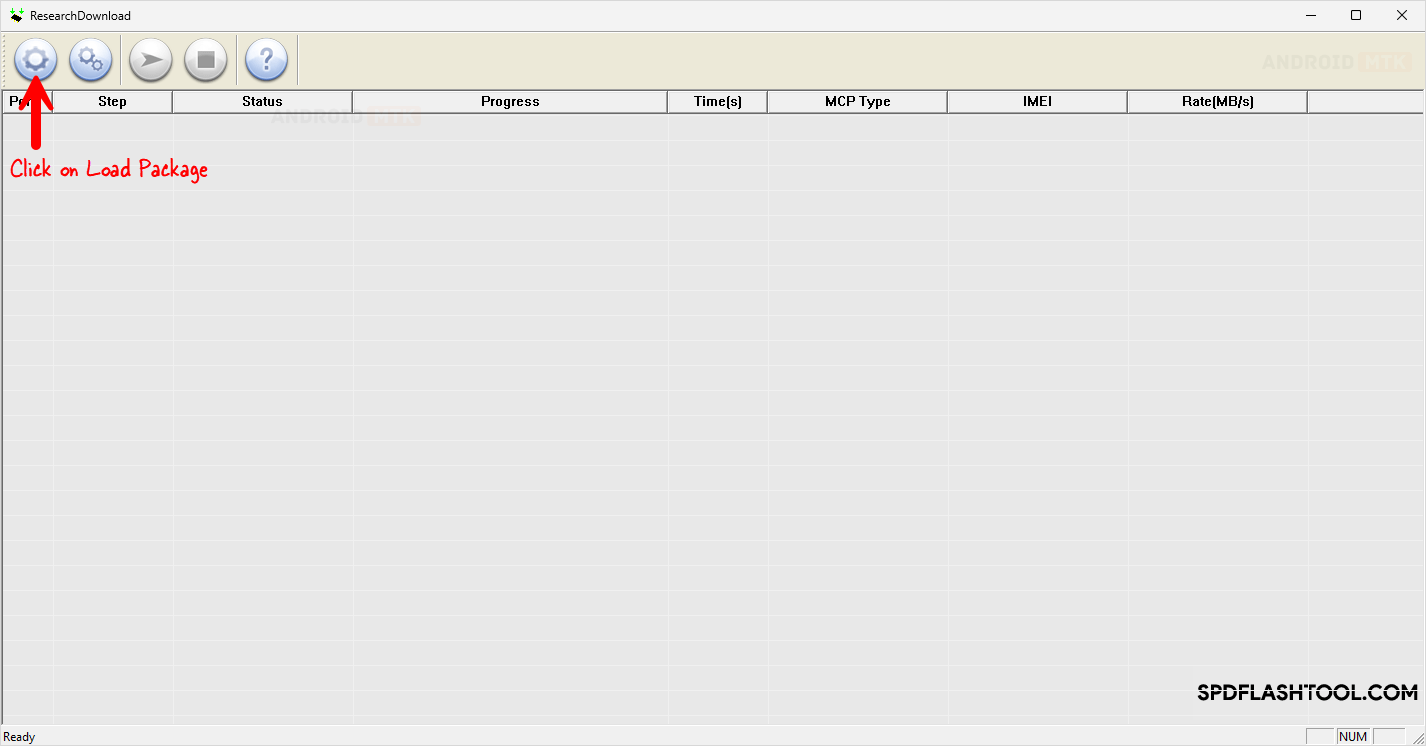
Tool Initialization: Launch the SPD Research Tool application on the host computer. This tool often presents a user interface designed for flashing firmware or executing diagnostic operations on Spreadtrum-based devices.
-
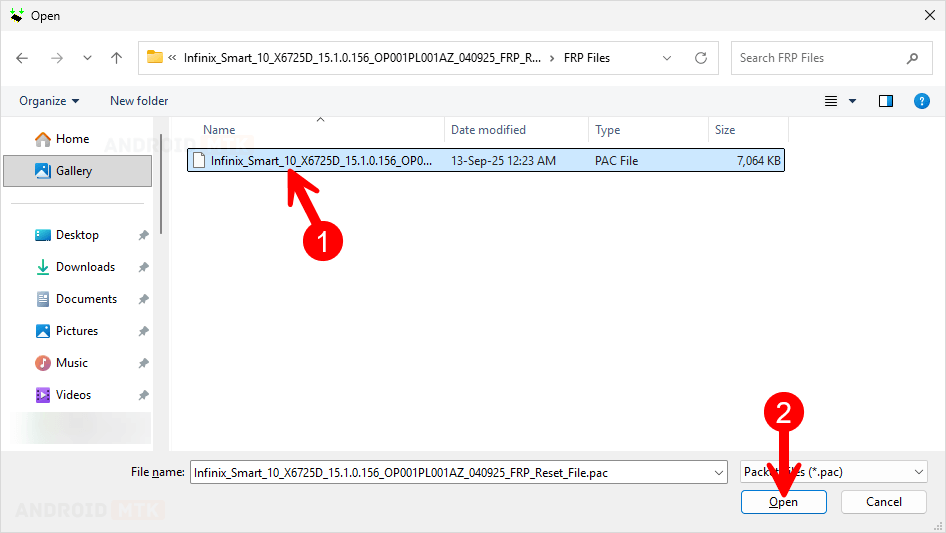
Loading the Package: Within the SPD Research Tool interface, locate and select the option to load the necessary package or configuration file. Navigate to the previously downloaded and extracted FRP reset file for the Infinix Smart 10 X6725D and load it into the tool. This action prepares the tool to deploy the specific instructions required for FRP removal.
-
Configuration Selection: Once the package is loaded, the interface will typically prompt the user to select the specific operation to be performed. For FRP removal, the user must precisely navigate the tool’s menus to locate and select the explicit "FRP" option or a similarly labeled security reset function. Verification of this selection is critical to ensure only the FRP partition or lock mechanism is targeted, minimizing risks to other critical system files.
-
Entering Download/Boot ROM Mode: The Infinix Smart 10 X6725D must be transitioned into a specialized diagnostic state, often referred to as Download Mode or Boot ROM mode, which allows the SPD Research Tool to establish a privileged connection.
- First, completely power down the Infinix Smart 10 X6725D.
- Next, simultaneously depress and hold both the Volume Up and Volume Down physical buttons located on the side of the handset.
- While maintaining pressure on both volume keys, connect the USB cable from the powered-off phone to an active USB port on the computer. The system should ideally recognize the device and install drivers if they were not previously loaded, signaling readiness.
-
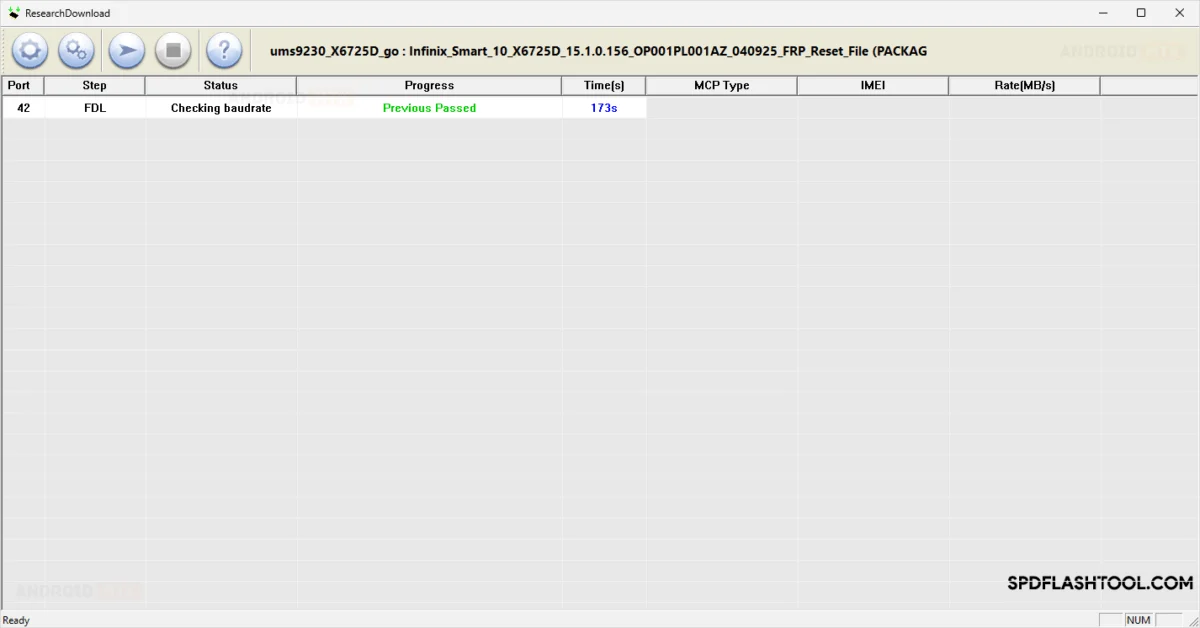
Initiating the Bypass Operation: With the device correctly connected in the required mode and the FRP option selected in the SPD Research Tool, the user must now click the "Start" or equivalent execution button within the software interface. This action commands the tool to transmit the FRP reset data packet to the phone’s chipset. Monitoring the tool’s status log is crucial during this phase, as it will display communication feedback.
-
Confirmation of Success: The operation concludes when the SPD Research Tool reports a successful completion message, often indicated by a clear status notification or a change in the log output signifying the command execution was acknowledged by the device’s firmware. A visual confirmation screen, displaying a "FRP Success" or similar message, reinforces the successful completion of the security bypass.
Upon receiving confirmation of a successful FRP removal, the technical intervention is complete. The user should then close the SPD Research Tool software application, safely disconnect the USB cable from the Infinix Smart 10 X6725D, and initiate a standard power-on sequence for the device. The smartphone should now boot directly to the initial setup wizard, bypassing the previous requirement for Google account verification.
Subsequent Post-Procedure Actions and Considerations
Following a successful FRP bypass, users are strongly advised to immediately navigate to the device’s settings menu and establish a new, valid Google account or configure the device for immediate use under a local profile, depending on user preference. Since the FRP lock is a security feature designed to protect data, removing it inherently reduces the device’s vulnerability to theft; therefore, setting up robust alternative security measures, such as a strong screen lock PIN or pattern, is highly recommended.

The efficacy of this particular method is tied directly to the device’s chipset (Spreadtrum) and the specific software version (Android 15). Newer firmware updates released by Infinix, subsequent to this guide’s publication date, may introduce enhanced security protocols that render this exact tool-and-file combination obsolete. In such scenarios, users may need to await updated FRP reset files or explore alternative, potentially more complex, methods involving specialized flashing procedures or custom recovery environments. The integrity of the FRP reset file is paramount; using an incorrect file can lead to persistent software errors or render the device unresponsive.
